The origami boat is easy to make, and is also a fun
action toy.
All over the world,
the rainy season will see many kids building boats.
These actually float!
They can also be waterproofed to last longer. Let's start folding.
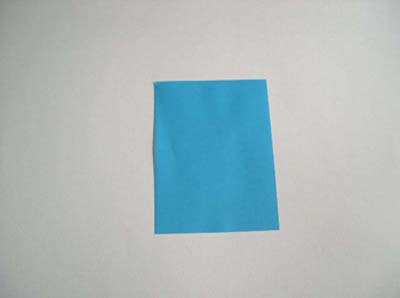
Begin with a rectangular piece of paper.
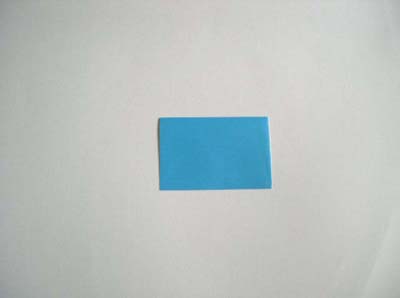
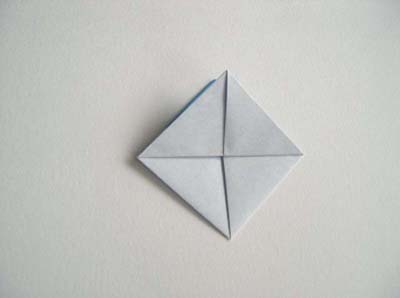
Fold it in half as shown. Then partially fold it again, making a crease near the top:

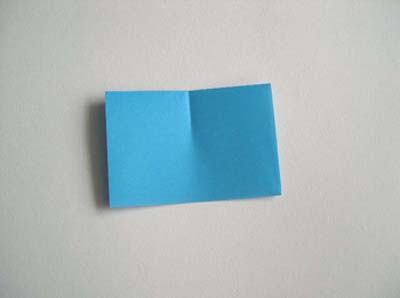
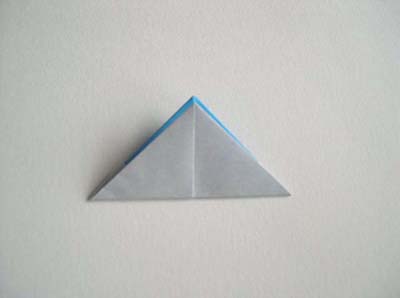
Here you can see the crease in the photo below left. This helps you line up the corners which you fold down as shown below:
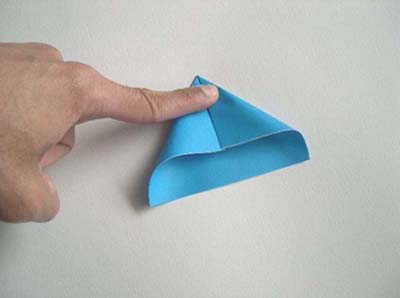
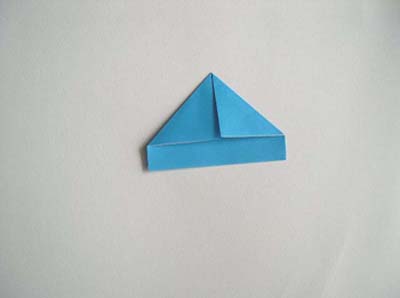
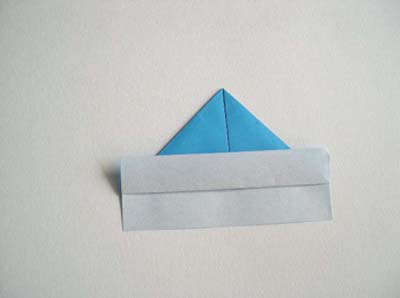
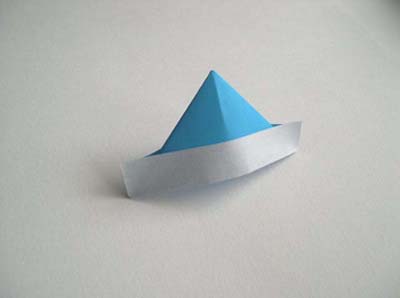
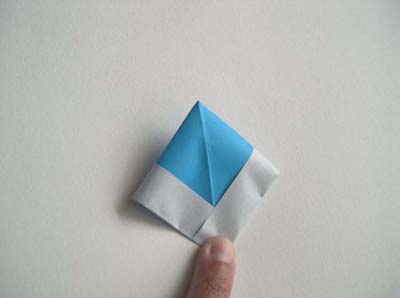
Now fold each edge of the paper upwards as shown. Use your fingers to open up into a hat! You can stop at the hat, or continue on to the boat.

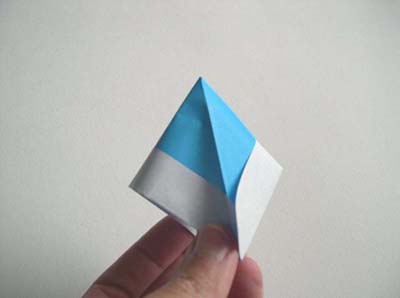
Bring the corners of the hat brim towards each other. The edges of the brim will be pushed outwards. It's kind of like you're "squashing" the hat into a square:
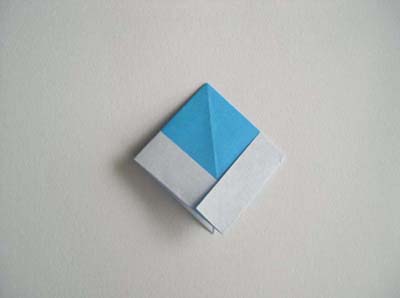
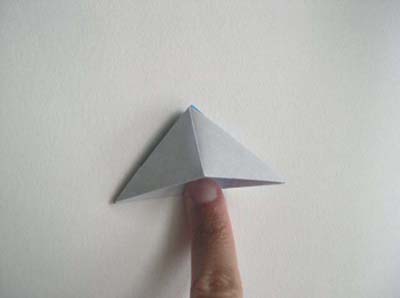
Now take one lower corner of the square and fold it upwards. Flip the piece over and do the same for the other corner.
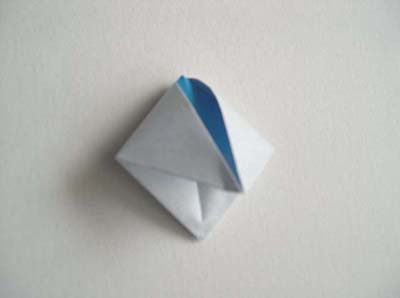
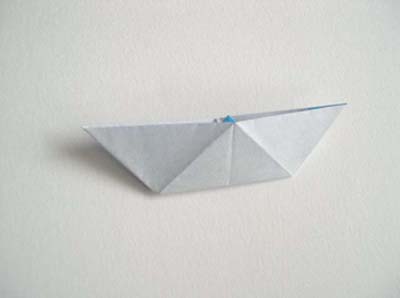
You now have a folded triangle. Open up the folded triangle, bring the corners together...
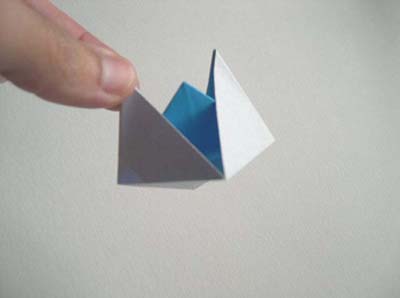
...again, "squash" the triangle into a square (below middle photo).
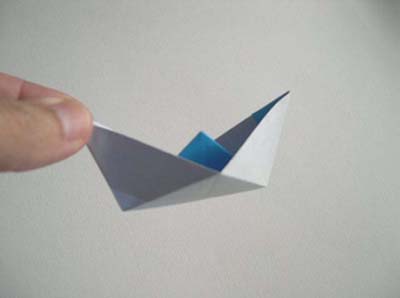
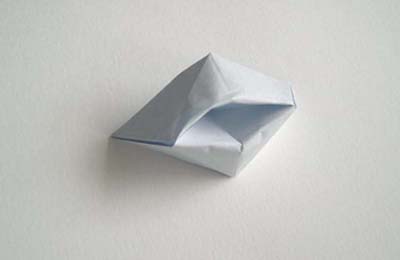
Now pull the outer corners of the square, one in each hand.
Keep pulling to unfold your boat.
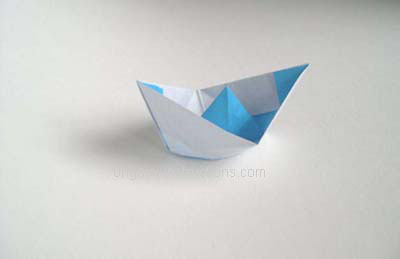
We like to turn the boat over and expand the hole in the bottom. This will help it balance and float better.

Now we just need some water to float our origami boat!
All over the world,
the rainy season will see many kids building boats.
These actually float!
They can also be waterproofed to last longer. Let's start folding.
Begin with a rectangular piece of paper.
Fold it in half as shown. Then partially fold it again, making a crease near the top:
Here you can see the crease in the photo below left. This helps you line up the corners which you fold down as shown below:
Now fold each edge of the paper upwards as shown. Use your fingers to open up into a hat! You can stop at the hat, or continue on to the boat.
Bring the corners of the hat brim towards each other. The edges of the brim will be pushed outwards. It's kind of like you're "squashing" the hat into a square:
Now take one lower corner of the square and fold it upwards. Flip the piece over and do the same for the other corner.
You now have a folded triangle. Open up the folded triangle, bring the corners together...
...again, "squash" the triangle into a square (below middle photo).
Now pull the outer corners of the square, one in each hand.
Keep pulling to unfold your boat.
We like to turn the boat over and expand the hole in the bottom. This will help it balance and float better.
Now we just need some water to float our origami boat!
Нема коментара:
Постави коментар